Once you have analyzed the scenery and the space, you can begin making decisions on how you would like to control light in each area. You will begin to develop Systems, a series of lights that have the same purpose, color, direction and shape, set up in an array around the stage; and Specials, Lights that have a specific and individual purpose, which is not necessarily reflected on all areas of the stage.
Systems and Specials are deployed by the designer to fill out the physical environment for the production. Area systems and specials cover the acting areas and light the actors and Environmental systems and specials have more to do with the way the space itself is lit. This second category covers the color of the space, the way that scenic elements are sculpted and revealed, and the use of color, direction and shape in order to motivate the given circumstances and mood of the play.
Systems and Specials are deployed by the designer to fill out the physical environment for the production. Area systems and specials cover the acting areas and light the actors and Environmental systems and specials have more to do with the way the space itself is lit. This second category covers the color of the space, the way that scenic elements are sculpted and revealed, and the use of color, direction and shape in order to motivate the given circumstances and mood of the play.
Area Light
On the previous page we talked about breaking up the stage into areas, or zones of control. These acting areas become the basis for Area Light systems that you use to provide visibility and sculpting for the actors themselves. I sometimes will even call this 'face light', even though these systems light more than faces. The primary functions of area light is to provide visibility and depth. Visibility is often provided by front or side light, and depth is provided by the sculpting angles of side or back light. In some methods, side lights provide both primary visibility and depth, with the front light being added as a 'fill' light. See the page on direction.
Area light is often described by the number of systems that play into each playing area. For example, a McCandless system might be as simple as 3-point light, with two diagonal front lights for visibility and one back light for sculpting. Adding one more directional light would make it 4-point lighting, and so on. Here are three examples of ways a designer might set up each of their acting areas with area light:
Area light is often described by the number of systems that play into each playing area. For example, a McCandless system might be as simple as 3-point light, with two diagonal front lights for visibility and one back light for sculpting. Adding one more directional light would make it 4-point lighting, and so on. Here are three examples of ways a designer might set up each of their acting areas with area light:


Each of these examples gives the designer different tools to light the actors on the stage. By adding more possibilities in each area you give yourself more options at the tech table for individual looks. But putting more fixtures into each area also puts a bigger strain on your inventory or rental budget, so it's a tradeoff.
System based lighting means that for every acting area on the stage, each of these 'points' is reflected. Let's look at a grid-based area design, using the 3-point lighting example from above, in which I have broken up my stage into three areas wide by 3 areas deep:
System based lighting means that for every acting area on the stage, each of these 'points' is reflected. Let's look at a grid-based area design, using the 3-point lighting example from above, in which I have broken up my stage into three areas wide by 3 areas deep:

I would like to use a warm diagonal front light coming from House Left (stage right). I want to be able to light the actors evenly with this type of light at any point on the stage, and I want to be able to isolate actors in any of the 9 areas that I have defined as acting areas. Therefore, I will need 9 fixtures, each hung in an area of the theatre that allows me to focus the light into each area from a similar angle. These 9 light fixtures become a warm diagonal front light system. At some points during the play, all 9 of these lights might be on at the same time, creating an uninterrupted field of warm light all coming from the same direction. At another time in the play, maybe just one of these lights is on to isolate an actor standing in a specific area of the stage.

|

Next, I will similarly add additional systems to round out the area light. These are a cool diagonal front light, and a no-color back light system. Once again, because we're thinking in systems, I will add one light per system, per area.
As you can see, with a relatively small stage, and only 3-point lighting, the number of fixtures adds up quickly. This is why that 9-point lighting example above is pretty extreme. |
Notice here that we are focusing our attention on what the light does on stage, rather than where the lighting fixtures hang in the theatre space. The process of figuring out where the lights hang comes later. As a designer, you need to first know what the lights need to do on the stage, to the actors and the environment before you worry about where they hang in the space.
This explanation has been pretty generic. Your process of designing the lighting for any individual show will be more specific. The choices you make in which types of systems will depend on all of those Functions of Stage Lighting that you noted while reading the play a bunch of times. A broad comedy might lead you to include a system of straight-on front light, so that the actors facial expressions can be seen clearly by the audience, whereas a dance show which needs to sculpt more than provide visibility might have no front or diagonal front systems at all. A realistic play that needs to communicate time of day through the lighting might use very specific colors and angles in order to differentiate morning from afternoon. It's easy to simply throw up 3-point or 5-point lighting because it worked well last time and the audience could see everything. That's 'lighting the stage'. Once you're able to make specific choices, and to know WHY you choose one angle of light over another, then you are finally 'designing the environment for the storytelling'.
Environmental Light
Environmental light is "everything else". This is the light that helps you define the place and the mood. While these elements are clearly affected by your use of Area light on the actors, the environmental lights add the 'flavor' to the whole picture. Think of environmental lighting as falling in one or more of the following categories:
Washes:
Washes paint the 'whole stage' (including the acting areas, thus becoming a bit of a hybrid environmental/area light), and can come from any direction- front, top, diagonal back, etc.
Washes:
Washes paint the 'whole stage' (including the acting areas, thus becoming a bit of a hybrid environmental/area light), and can come from any direction- front, top, diagonal back, etc.
- Color Washes: Coloring the stage is one of the most effective ways of adjusting the environment. A dark blue top light wash over the whole stage might suggest that the scene takes place at night. A saturated red wash could suggest high emotional passion or anger.
- Texture Washes: By using systems of gobos pointed at the whole stage, a texture wash can enhance the space by using the element of shape. An 'out of focus' texture wash can give the lighting design a slightly mottled look- the shadows are not distinct, but the 'perfect' light is given a bit of a more uneven and natural feel, without creating the dreaded 'dark spot'. On the other hand, a sharply focused texture might help to give a nod towards the given circumstances (we're out in the woods, we're underwater).
|
|
Scenery:
Highlighting the scenic design is a really important element of all lighting designs, and often is the focus of the environmental systems and specials. One of the first things the audience often sees is the 'preset' which is purely environmental lights lighting the set even before any of the actors enters the stage. It's also what is visible of the scenery when the actors are focused in a different area of the stage.
We're still talking mostly about texture and color washes here, just directing those washes on the scenery itself, rather than in the playing spaces.
Scenery lighting includes whatever is happening behind or around the scenery, whether that background is a cyc, a back wall, portals, etc. Sometimes the ambient or reflected light from the rest of the stage is enough to give these elements a glow, but it's often best practice to dedicate lighting to the scenery, so that you have more control over the look.

|

|

|
|
|
|
An important note here: Many systems exist in a fuzzy gray area between Area Light and Environmental light. For example, imagine a play that takes place largely in the woods. The lighting designer, while laying out the list of systems and specials, determines that one of the Area Light systems should be a diagonal back light system in order to create a sculpting effect to pop the actors out from the background. Because the play largely takes place in the woods, let's throw a leafy gobo into that system. Now the system is pulling 'double duty', as it is helping to texture the space, and provide environment, but it continues to function as a sculpting area light, and therefore is both an Area and an Environmental system.
Creating a list of Systems

I usually like to begin by listing the systems that I would like to have in the lighting design. I do this during yet another reading of the play. As I'm reading the play, I make notes of specific ideas related to area and environmental looks that I might need in lighting the play. If while reading a scene, I have a clear idea in my head about what direction to 'key' the scene, I'll write that down. If there's a thought about a particular color that will help to tell the story, that's another note. Maybe the scene needs a particular focus on a specific actor, scenic element, prop, or something else- these all go into the notes.
The important thing to remember here is that you're reacting to the play, and determining how you use the Elements of Light to accomplish the Functions of Stage Lighting. The Elements are your tools, and the Functions are your results.
Once I've gone through the whole play, I look for commonalities: what types of systems come up over and over again? Do I see patterns in how I'm seeing color from scene to scene? Does it always seem like the warm light is favoring one direction over another? Once I see the patterns, I can start to make generalizations that will lead me to choosing one directional system over another. It will always be necessary to make some compromises- maybe you see the cool light always coming from stage right except for one scene in which you imagined it coming from stage left. Is it important enough in that one scene that you want to flip the rest of your thinking in order to efficiently deploy a cool area light system? Or can that scene be solved in a different way?
When I have analyzed these commonalities, I can then write out a list of systems that I intend to include in the design. It might look something like the figure to the right:
In this example, I've landed on 4-point lighting for each of the main acting areas of the stage, meaning that I will have 4 fixtures going into each area for the primary visibility and sculpting light for the actors. There are more environmental systems, but depending on how those systems are used, maybe there are fewer systems. The Lavender Fill system, for example, says it will be in 'alleys'. Maybe that means that I split the stage up into three horizontal zones, and will include control for downstage, midstage, and upstage, rather than focusing those fixtures into each individual acting area. The diagonal back light systems- leafy amber and cool moon- also probably act as area light- when I get to plotting, I might find that these systems get split out into each of the acting areas, making them more like area than environmental systems. But this is a good start.
Specials

Your list of systems probably does not cover every single thing that needs to happen in the play. You may have a need to highlight an individual set piece or prop at a particular moment in the show. Maybe there's a monologue that happens off the edge of the main part of the set. Maybe a character goes out into the aisle of the theatre, or makes an appearance on the lighting catwalks. This is where specials come in.
A special is any light that works 'by itself', and is not part of a larger system. This is a light (usually one, sometimes more) with a dedicated (or 'special) purpose. Maybe this light is only in one cue in the whole show- but it's a pretty important moment. In most cases, a special is shaped very specifically to that moment- shutters may be brought in tight. The actor might even have a spike mark on stage to make sure they're in exactly the right position when the special comes up.
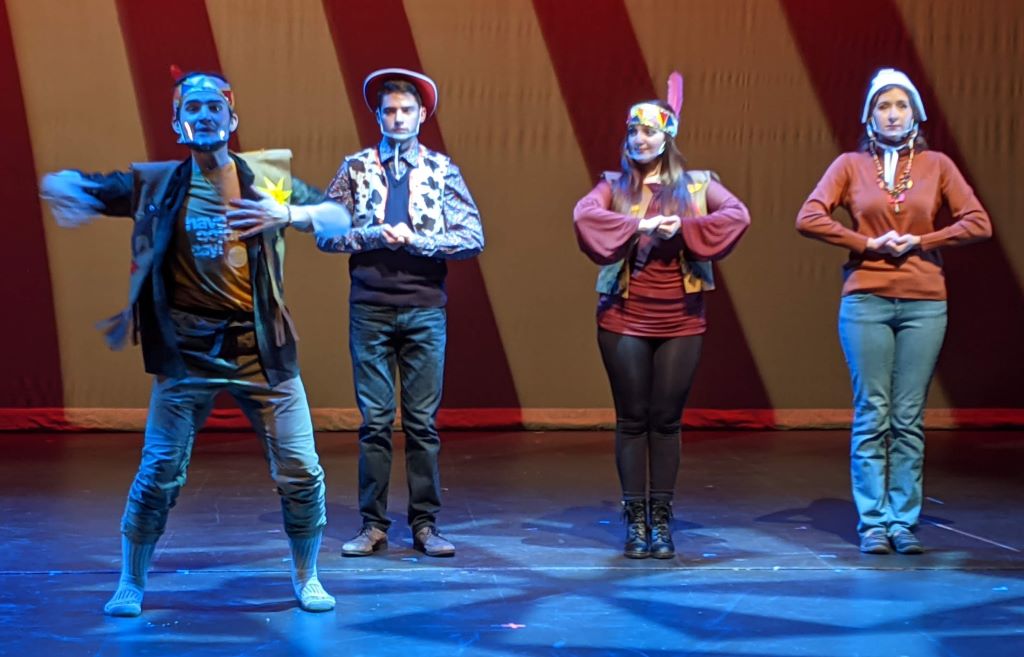
The special might happen only once during the show, but it could be a repeating motif, that looks similar every time it comes around. For example, Shakespeare shows have asides or soliloquies in which the characters break the fourth wall and speak directly to the audience. There may be a desire by the director to bump into a tight isolation for these moments and drop the brightness on non-speaking characters. One way to tackle this task would be to create a few spots on stage where those moments happen, and the director can arrange the blocking so that the actors drop into these 'aside specials'. Depending on the needs of the play, maybe there are 3 spots- Right, Left, Center- or maybe there is a tight special in each of your acting areas. I call these specials rather than a system because if you bring all of them up together, you don't get an even wash across the stage, but 12 or 15 individual spots that have darkness in between.
Here is what my list of specials might look like at this point in the process. I have gone through the play to determine what needs would not be covered by the area light that I have already planned, and filled in the gaps with these specials.
There are other uses for specials as well. I will often hang a special that is shuttered tightly to each entrance, especially in a realistic box set. Important moments happen at doorways, and you want the ability to control the light in these areas. I will also often put a 'face special' on furniture pieces. If a character is sitting on the sofa for a long time, sometimes it is useful to be able to pump up the light on their face and drop out some of the surrounding area light to provide focus.
A special is any light that works 'by itself', and is not part of a larger system. This is a light (usually one, sometimes more) with a dedicated (or 'special) purpose. Maybe this light is only in one cue in the whole show- but it's a pretty important moment. In most cases, a special is shaped very specifically to that moment- shutters may be brought in tight. The actor might even have a spike mark on stage to make sure they're in exactly the right position when the special comes up.
The special might happen only once during the show, but it could be a repeating motif, that looks similar every time it comes around. For example, Shakespeare shows have asides or soliloquies in which the characters break the fourth wall and speak directly to the audience. There may be a desire by the director to bump into a tight isolation for these moments and drop the brightness on non-speaking characters. One way to tackle this task would be to create a few spots on stage where those moments happen, and the director can arrange the blocking so that the actors drop into these 'aside specials'. Depending on the needs of the play, maybe there are 3 spots- Right, Left, Center- or maybe there is a tight special in each of your acting areas. I call these specials rather than a system because if you bring all of them up together, you don't get an even wash across the stage, but 12 or 15 individual spots that have darkness in between.
Here is what my list of specials might look like at this point in the process. I have gone through the play to determine what needs would not be covered by the area light that I have already planned, and filled in the gaps with these specials.
There are other uses for specials as well. I will often hang a special that is shuttered tightly to each entrance, especially in a realistic box set. Important moments happen at doorways, and you want the ability to control the light in these areas. I will also often put a 'face special' on furniture pieces. If a character is sitting on the sofa for a long time, sometimes it is useful to be able to pump up the light on their face and drop out some of the surrounding area light to provide focus.
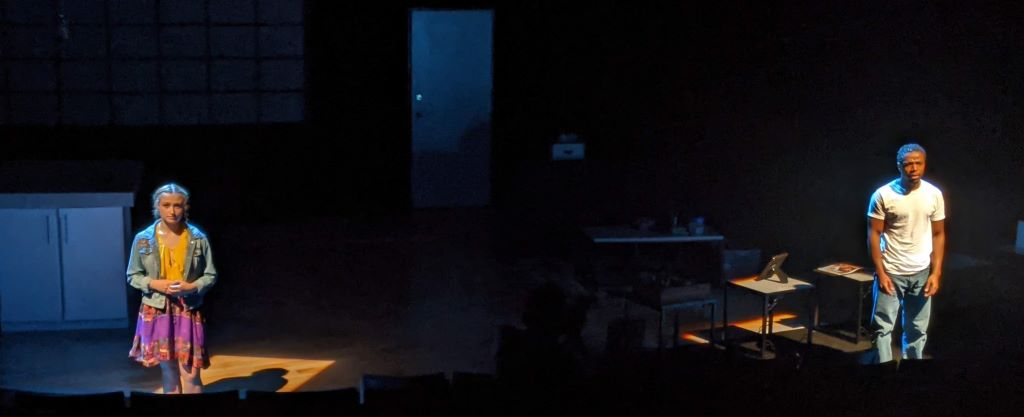
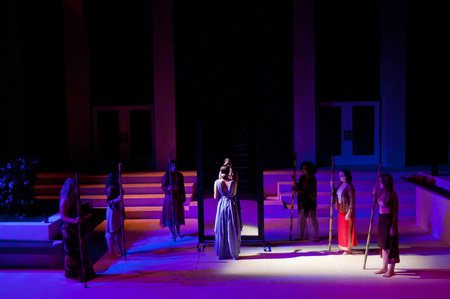
These 'dueling monologues' break the reality of the play and are set off the edge of the regular playing space
|
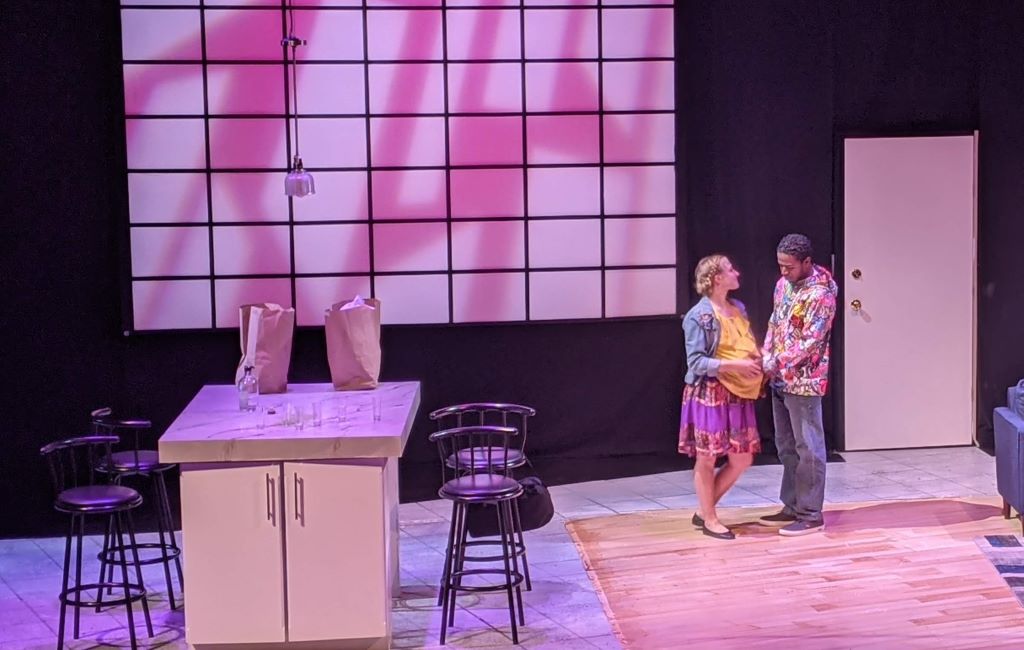
The special on this prop was simply to get a laugh in this broad comedy.
|
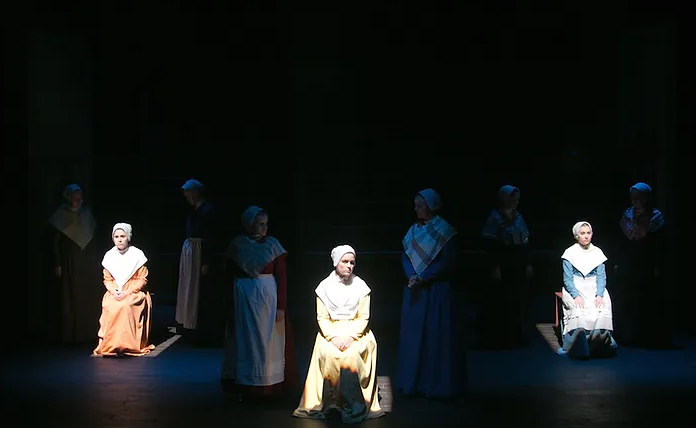
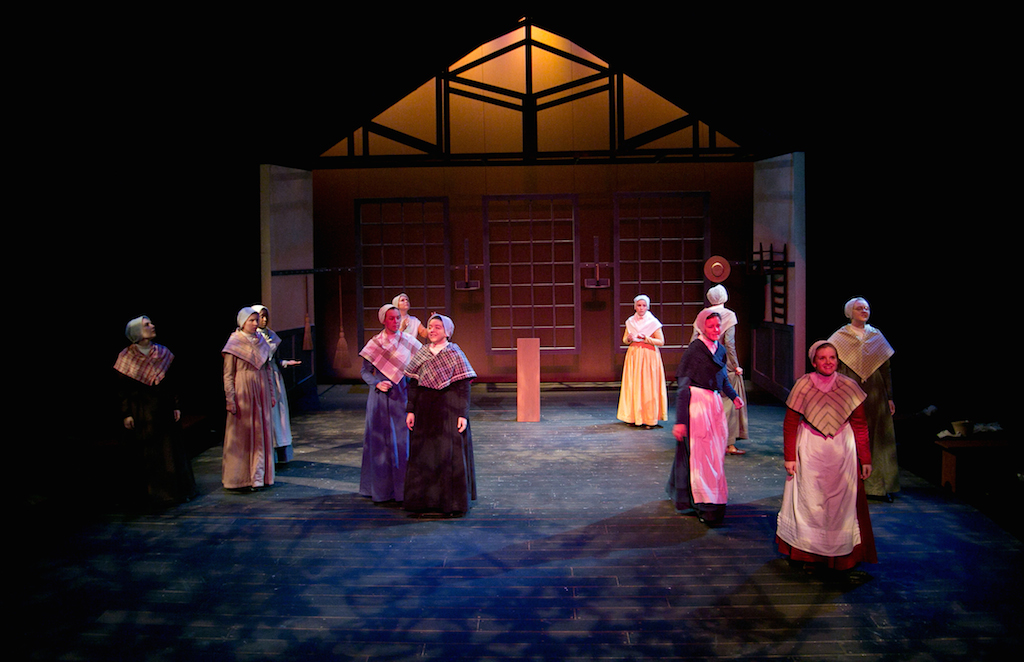
The emotional reality of this interrogation scene is heightened by the tight specials on each of the girls being questioned.
|
Some thoughts about Moving Lights and LEDs
This methodology is mostly based on a rig that is mostly conventional, fixed-focus lighting fixtures, for which you're choosing gel colors. As time goes by, you're more and more likely to have LED color changing fixtures and moving lights in your rig, and may even have the opportunity to design with a moving light based rig. Remember that the analysis process is still the same- you're using the Elements of Light to achieve the Functions of Design. You're simply using different tools to generate those elements on stage.
In your systems and specials breakdown, there are a couple notable differences, some of which are pretty obvious. Instead of specifying colors in your systems, you may simply include an "LED" note, which reminds you that you will have flexibility in color later on. If you're working with a mixed inventory of color-changing and non-color-changing fixtures, you'll need to deploy your color changing fixtures where they will be the most use. It doesn't do you any good to use those fixtures in a place that will likely be the same color for the whole show.
Many theatre lighting inventories that include mostly fixed-focus fixtures will have a small number of moving lights. These are often great fixtures to use as 'moving specials' even in shows that might not be 'moving light' shows. Moving lights can give you spinning gobos, rock and roll effects, and saturated colors, but many can also simply point where you need it in a cue, and then be redeployed for the next special. It's worth it to draw a layout for where these specials need to happen anyway, so later on when you're making decisions about where the fixtures should hang, you have a good idea of what it needs to be able to do.
The process of designing with a large rig of mostly moving lights does wind up being pretty different than the above approach, but ultimately you're still going through the script, deciding what direction, color, and shape you need to create the composition, so this process is still valid and useful. Check out the page on Designing with Moving Lights for some tips on making the jump into a rig like this.
